Creating your own AI chatbot is no longer a complicated, technical task. With today’s AI tools, you can build a fully functional, 24/7 virtual assistant or sales person in just a few minutes—no coding, no engineering background, no technical setup required-.
In this guide, you’ll learn how to create chatbots from scratch, train them with your business knowledge, and deploy them on your website or communication channels in less than 20 minutes.
Let’s get started.
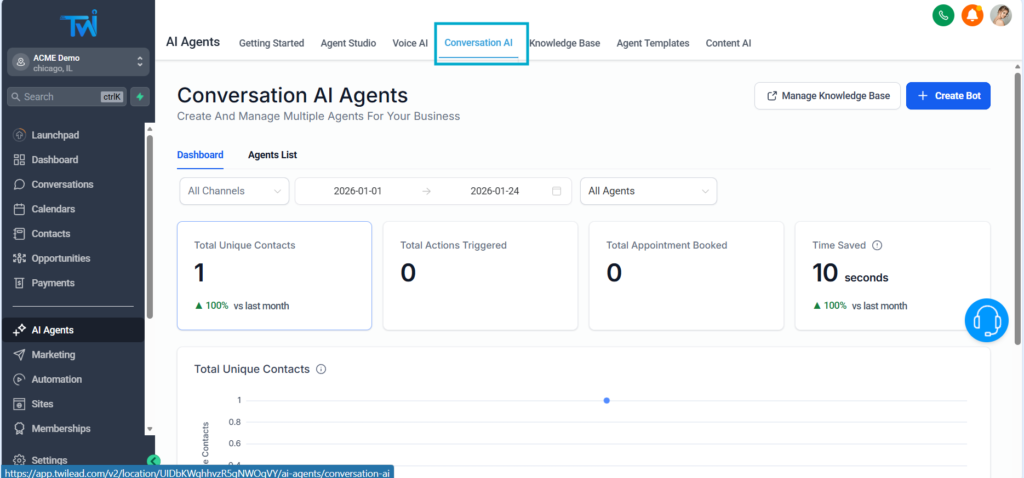
1. Access the AI Agent Builder
From your dashboard, go to the left-side menu and click AI Agents.
Here, you’ll see multiple options:
- Agent Studio: Advanced mode for AI experts
- Templates: Pre‑built bots you can install instantly
- Voice AI; Agents that can answer phone calls and hold a conversation.
- Conversation IA: Also known as chatbots,
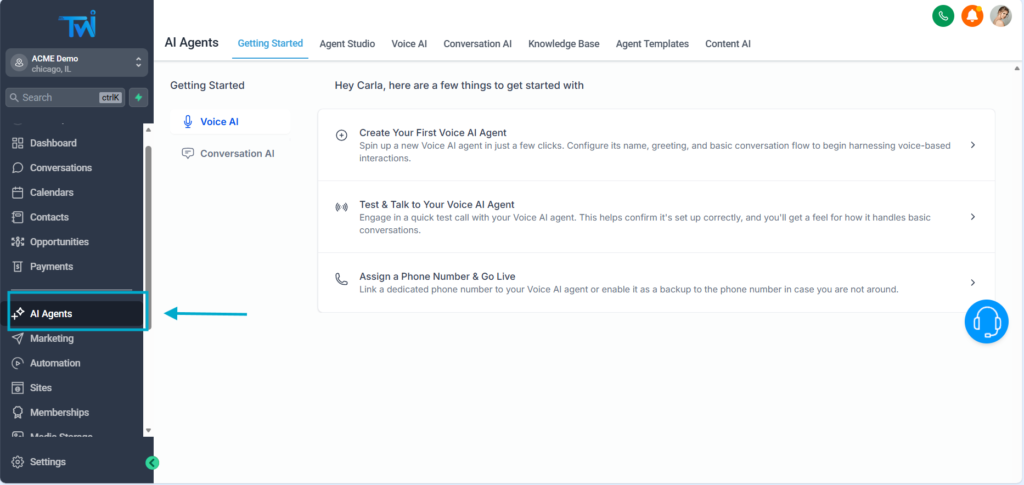
We’ll focus on the AI bot option, this is the bot that automatically responds to your messages on channels like your website, WhatsApp, Facebook, Instagram, and SMS.
2. Start Creating Your Bot From Scratch
Although you can download a chatbot already trained, let’s build a bot completely from scratch so you understand each step.
Click Create Bot.

You’ll be given three starting options. To keep things simple, select:
→ Guided Form Setup

This bot adapts well to most businesses and industries.
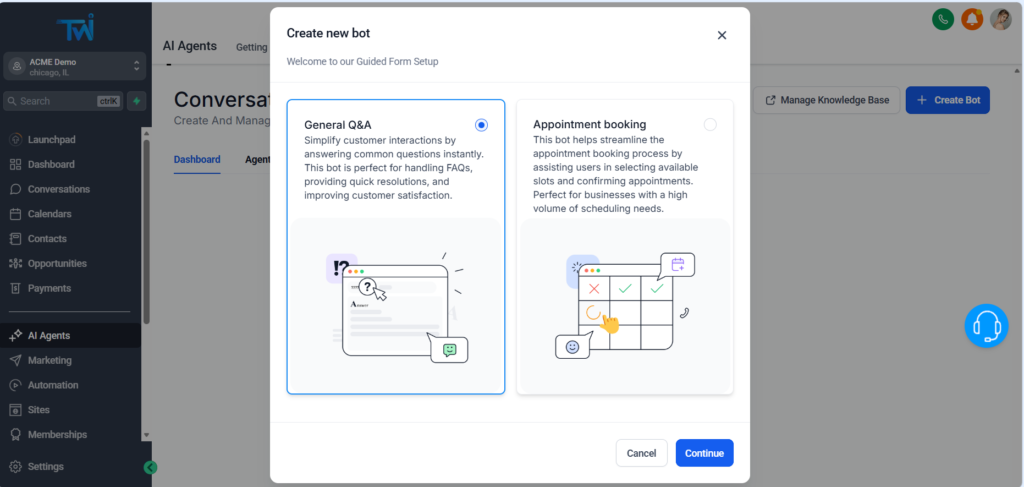
3. Choose the Type of Chatbot
You can choose between a Appointment booking chatbot and a General Q&A. If your primary goal is to get more bookings, choose the Appointment Booking option.
In this guide we are going to create a chatbot focused on general questions, oriented to be a customer service agent.
Click→ General Q&A Bot
This bot adapts well to most businesses and industries.
However, if y you are not sure which type of chatbot fits better your business, you can ask for -only available for TwiLead users-
3. Set Up Your Brand Voice
You’ll now create the “identity” of your chatbot.
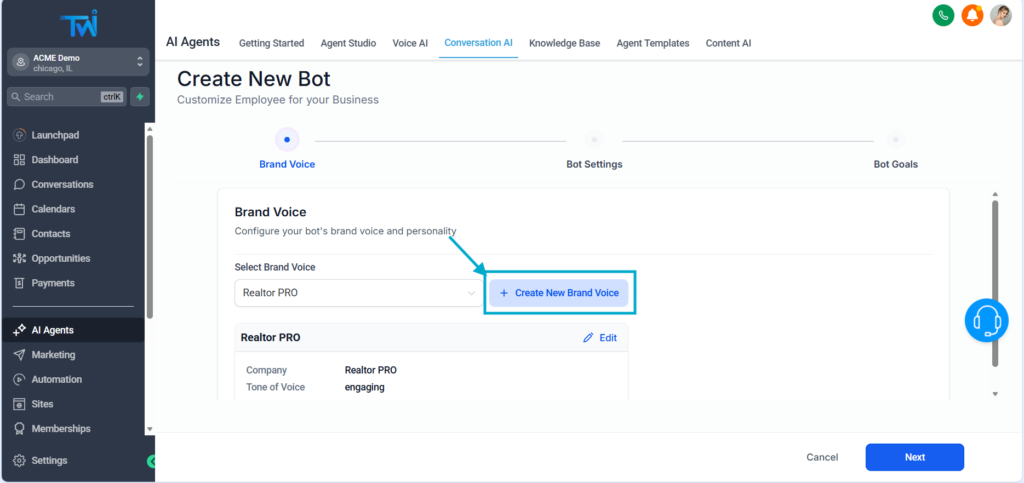

Mandatory fields include:
- Brand Name
- Tone of Voice (friendly, professional, engaging, etc.)
Optional but recommended:
- Website
- Additional business information
Choose whether the bot works:
- 24/7 (default)
- Only during business hours
Click Save, then Next.
4. Name Your Bot and Select Channels
Give your bot a name, something simple, friendly, and aligned with your business.
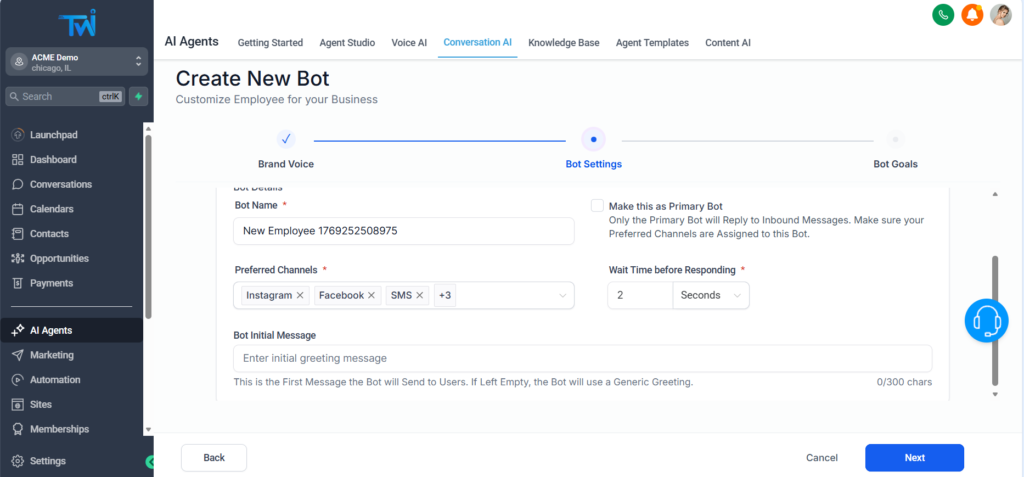
You’ll also see an option to make it your Primary Bot.
If enabled, it will automatically reply to all inbound messages.
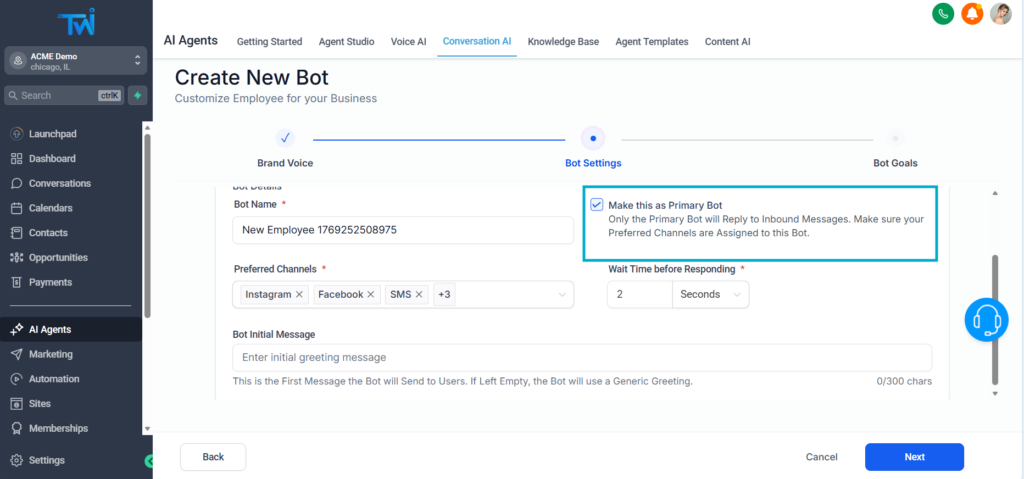
Next, choose where your bot should be active:
- Website chat widget
- SMS
- Facebook Messenger
You can also add a custom greeting of up to 300 characters.
After setting everything up, click Next to continue.
5. Decide What Information Your Bot Should Collect
Your chatbot can automatically capture user data and update your CRM.
Common default fields:
- Name
- Phone
Optional fields:
- Address
- City
- Custom CRM fields (like “property type,” “budget,” “project type,” etc.)

Alos, you can:
- Turn fields on/off
- Change the question order
- Add new custom questions
- Map answers to CRM fields
- Receive email notificiaions if he bot doesn´t know the answer
This transforms your chatbot into a lead‑qualifying machine.
6. Add Appointment Booking (Optional)
If you want the bot to book meetings automatically:
- Activate « Appointment Booking »
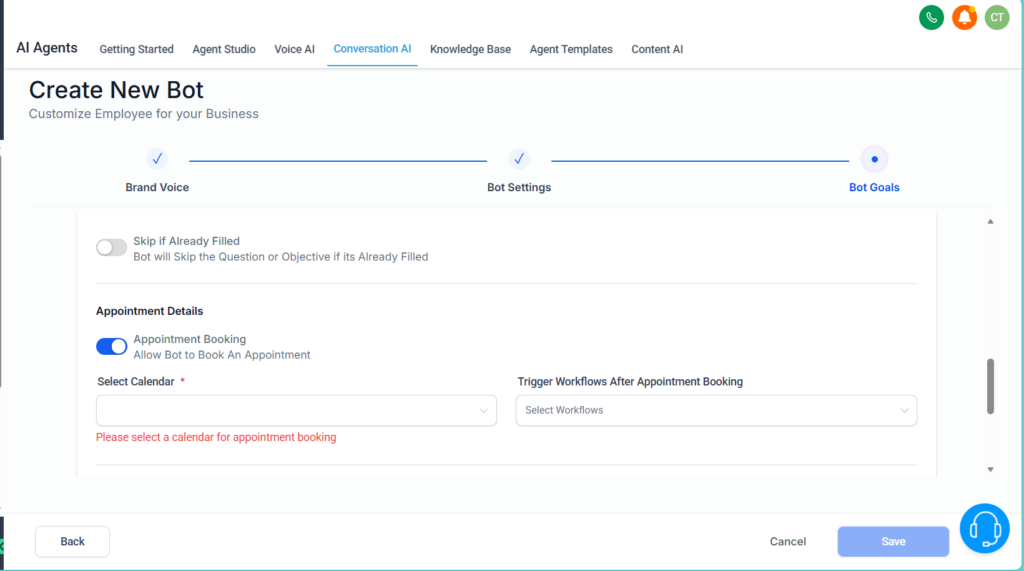
- Select your existing calendar (if you haven’t created one, learn how to do it here)
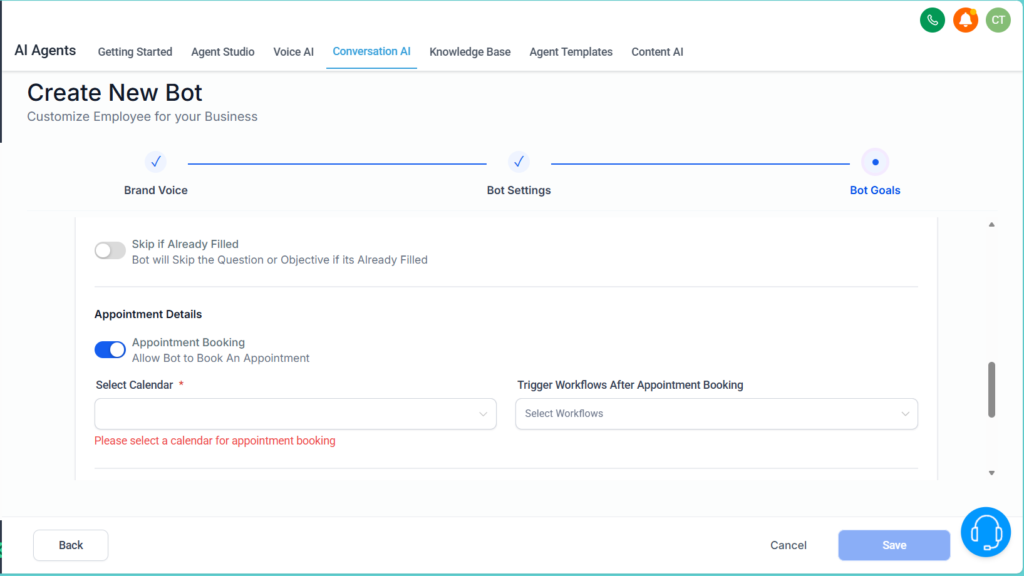
- Choose the trigger (e.g., “after form submission”)
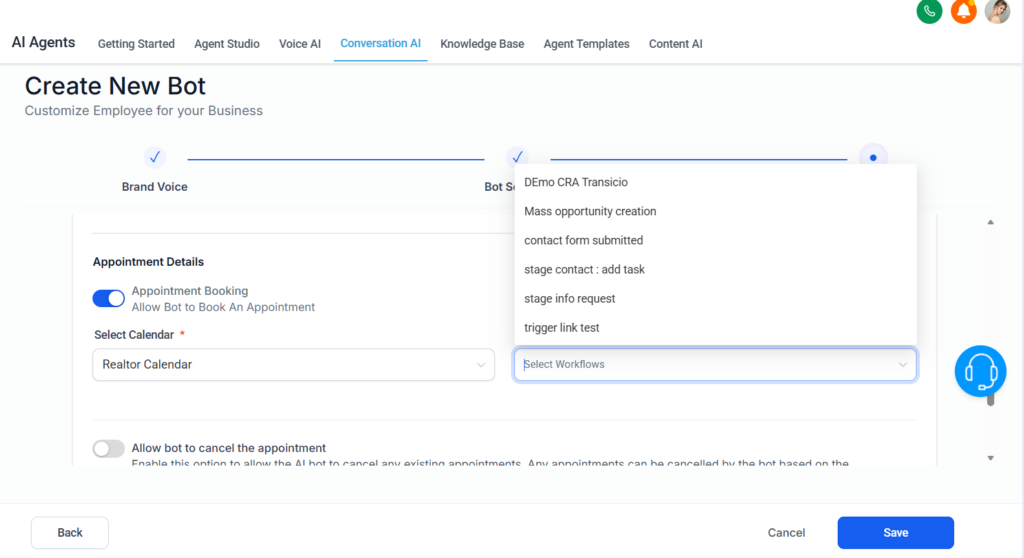
- Enable cancellation and rescheduling options (optional).
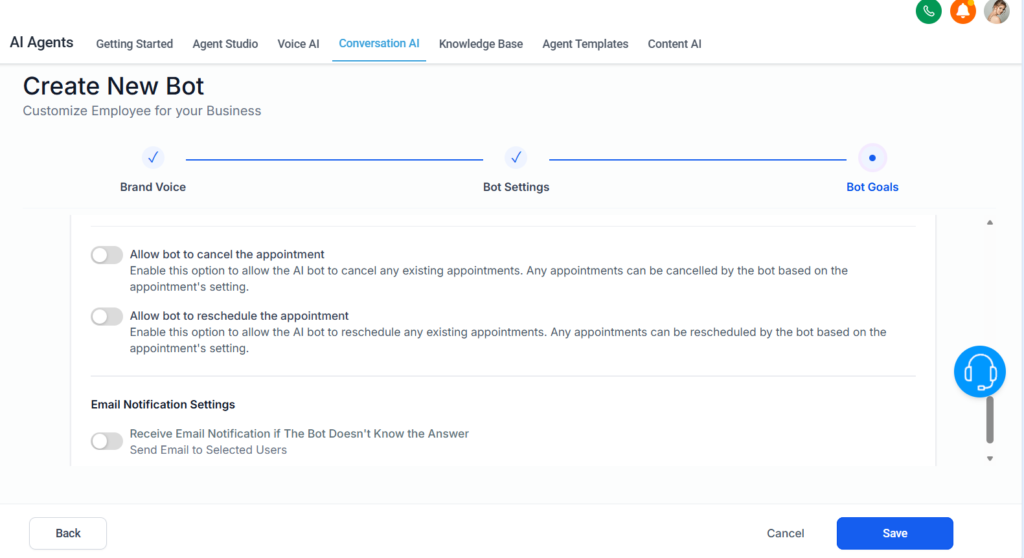
Once active, your bot can:
- Offer time slots
- Book appointments
- Cancel or reschedule automatically
- Update your CRM instantly
8. Train Your Chatbot With a Knowledge Base
This is the step that makes your bot smart.
Go to Bot Training.
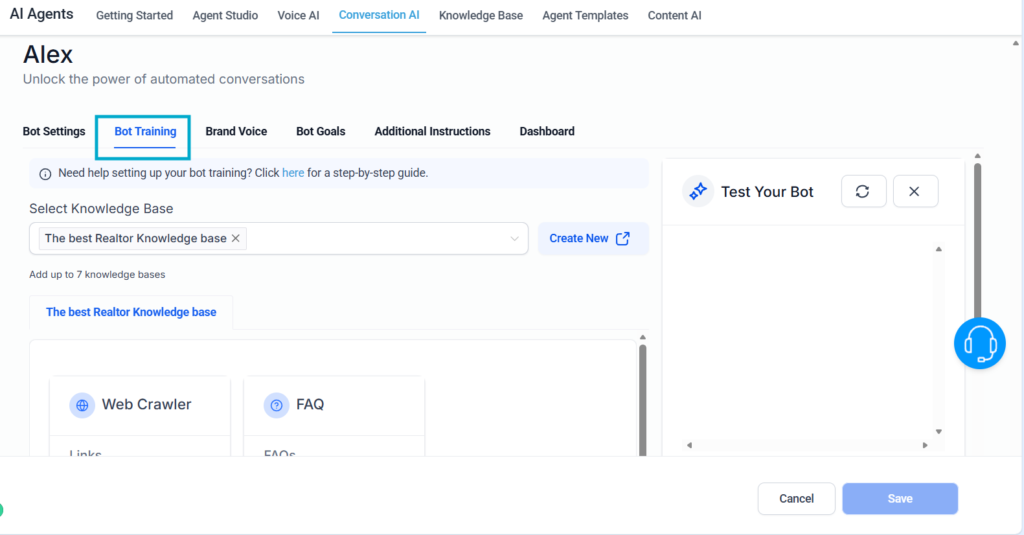
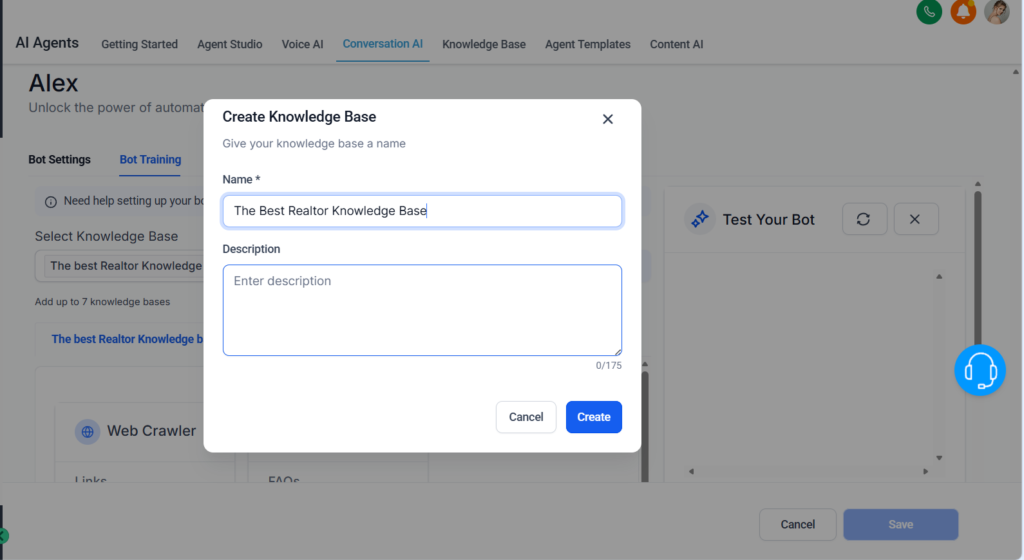
Create a New Knowledge Base
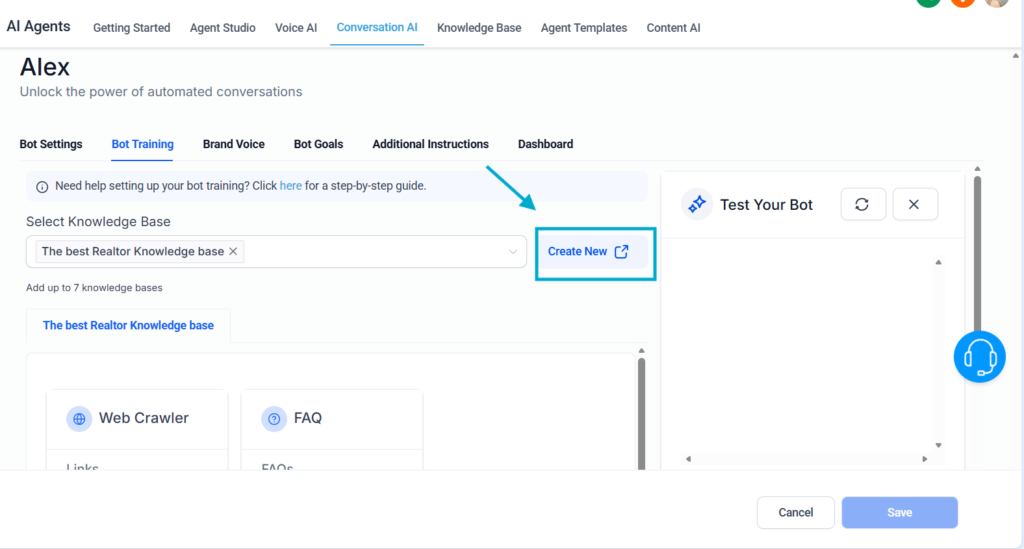
Give it a name.
Then add your knowledge sources by clicking on Add Source.
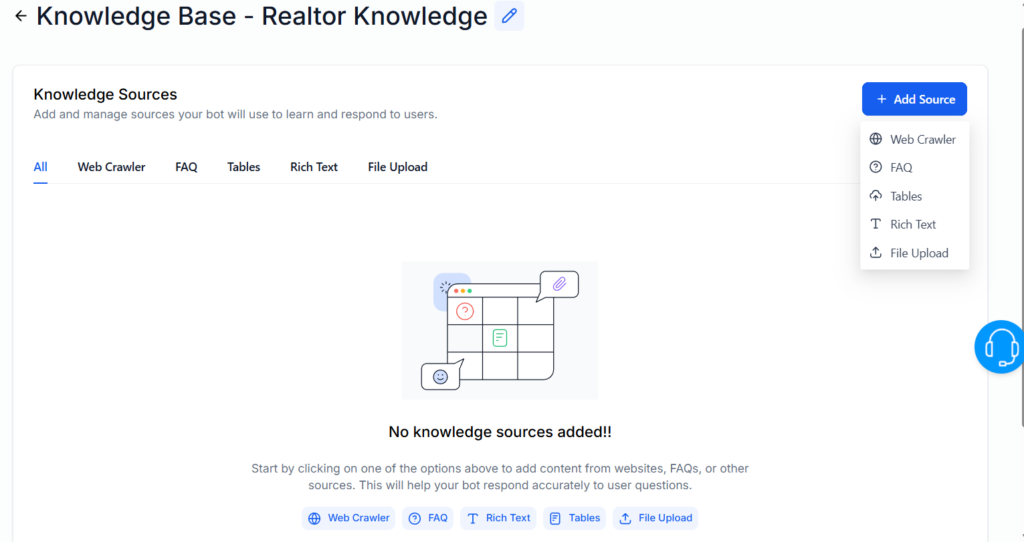
You can train your bot with:
- Website URLs (via web crawler)
- Frequently Asked Questions
- CSV files
- Plain text
- Manuals, catalogs, brand guidelines
- Internal documents (PDF, TXT, etc.)
Tip:
Choose high‑quality content relevant to your business.
The more aligned the data is, the more accurate and human your bot becomes
9. Test Your Bot
After training, go back to your AI Agent, and choose he knowledge base created.
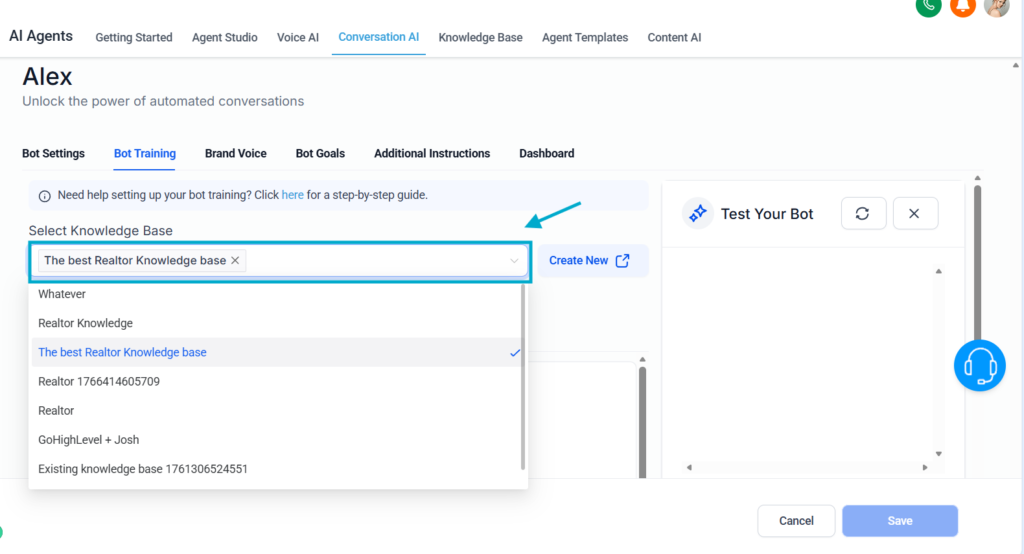
Start talking with your new bot! By doing it you will be able to test its efficiency and improve the interactions.
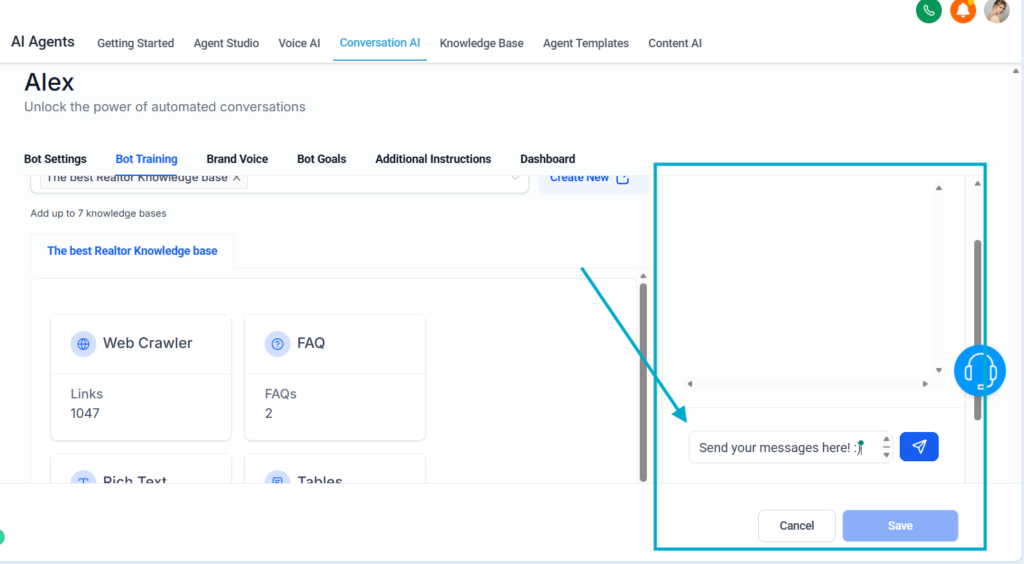
Ask something specific:
“What properties do you have available in New York under $500,000?”
You should get detailed, accurate responses based on your new knowledge base.
If the bot makes mistakes:
- Mark answers as good or bad
- Fine‑tune your knowledge base
- Add more examples
This iterative process increases accuracy.
10. Deploy Your Chatbot on Your Website
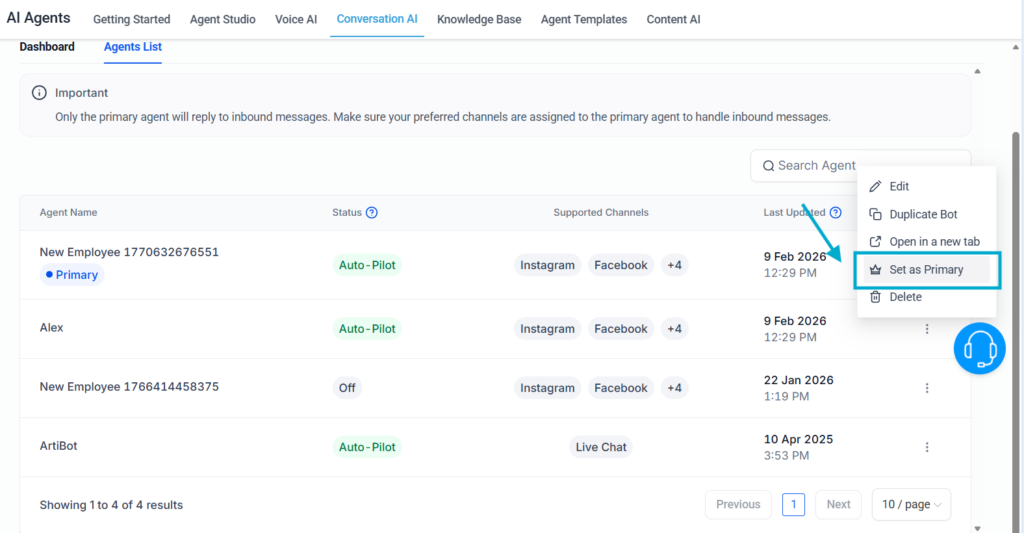
Once the bot is ready:
- Set it as Primary Bot
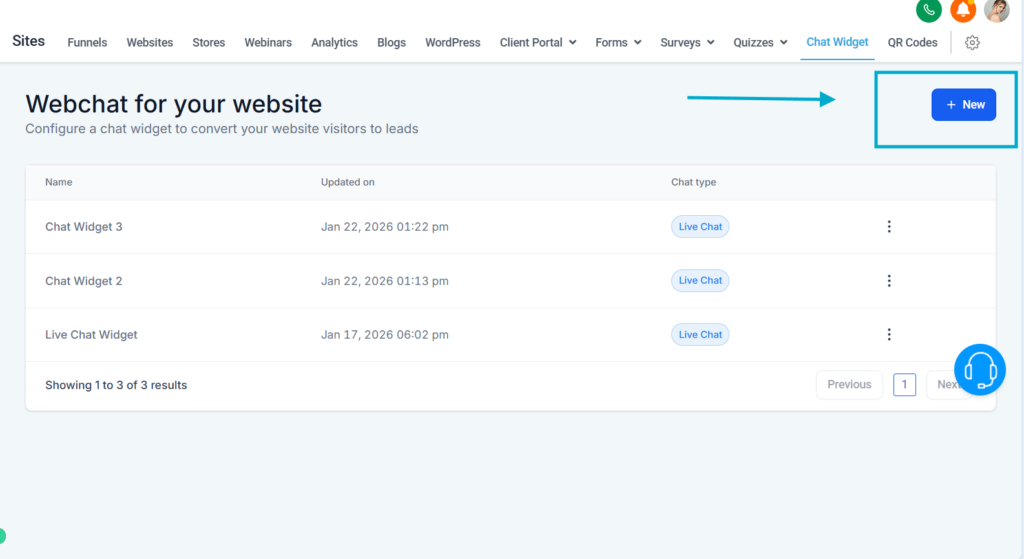
- Go to Sites → Chat Widget

- Create a new live chat widget
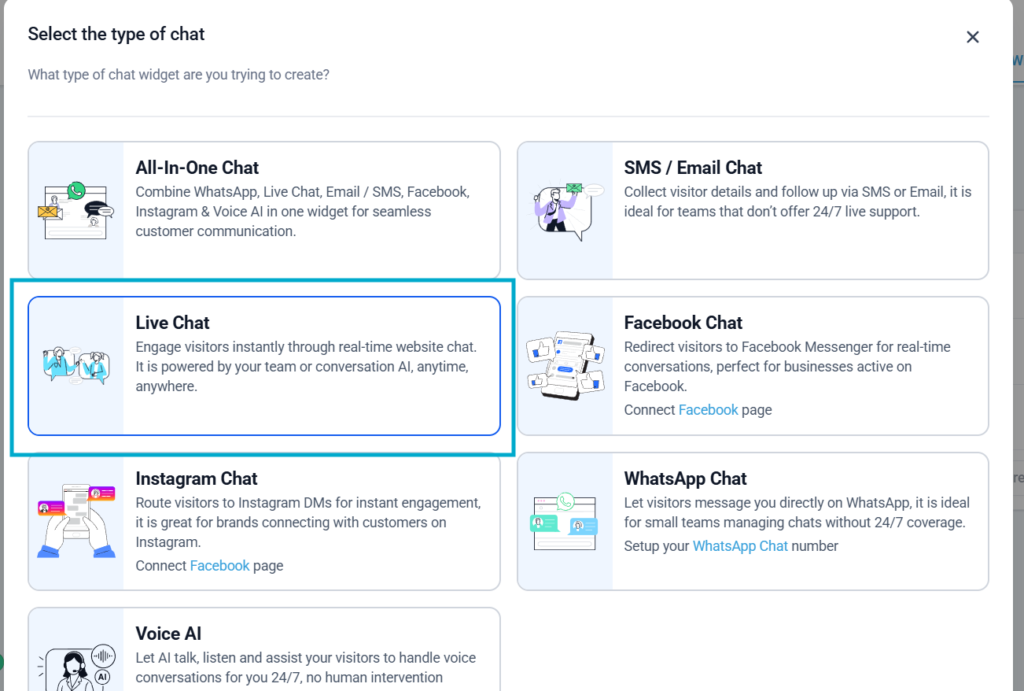
- Choose Live Chat
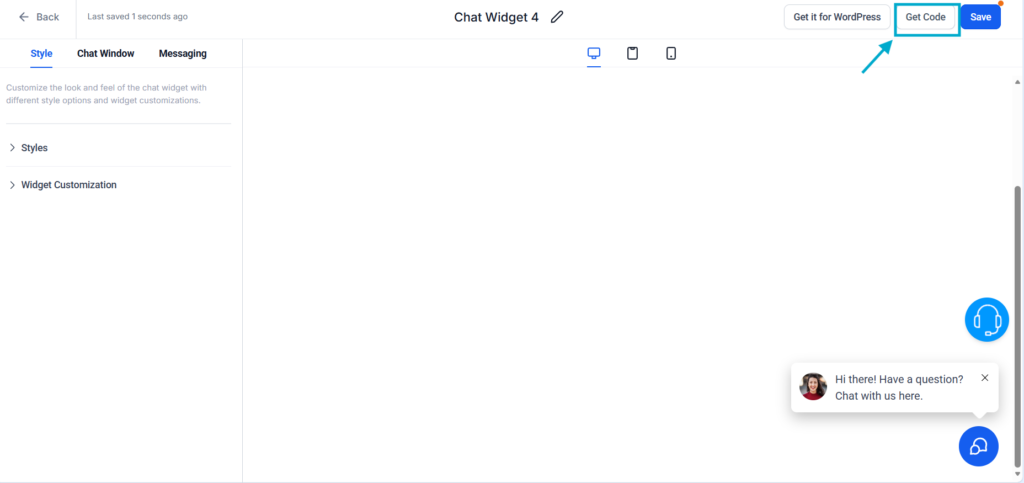
- Click Get Code
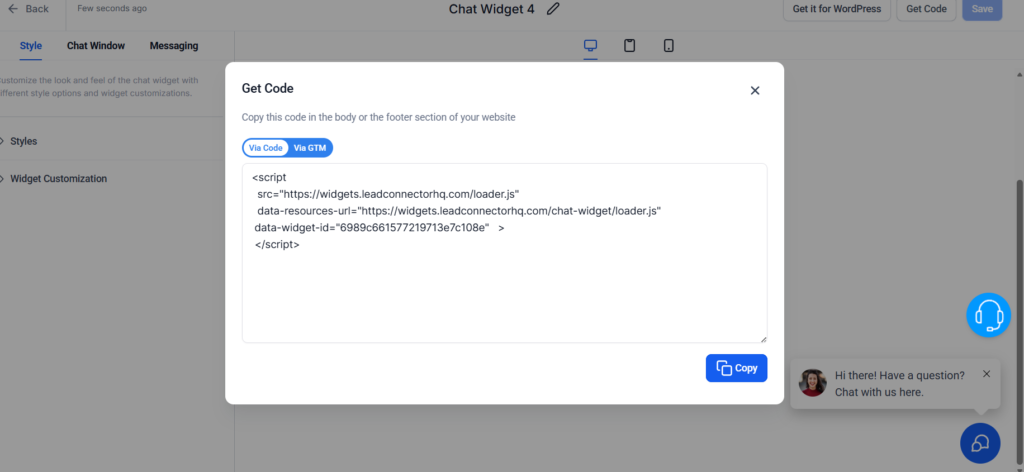
- Copy and paste the code into your website
You now have a fully functional AI chatbot ready to convert visitors 24/7.
Final Thoughts
Now you know how to create chatbots from scratch in just minutes. With the right setup, your chatbot becomes a fully autonomous assistant, qualifying leads, answering questions, booking appointments, updating your CRM, and engaging website visitors instantly.
Need personal help?
If you’d like tailored support to help you create, train, and optimize your AI chatbot according to your brand and business strategy, you can book a 1:1 onboarding call with our expert team. We’ll guide you step‑by‑step and help you launch a high‑performing bot fast.