Creating forms is one of the fastest ways to collect leads, gather client information, and automate your workflows inside TwiLead. In this guide, you’ll learn how to create forms in TwiLead using both templates and drag‑and‑drop fields, all in just a few minutes.
Let’s get started.
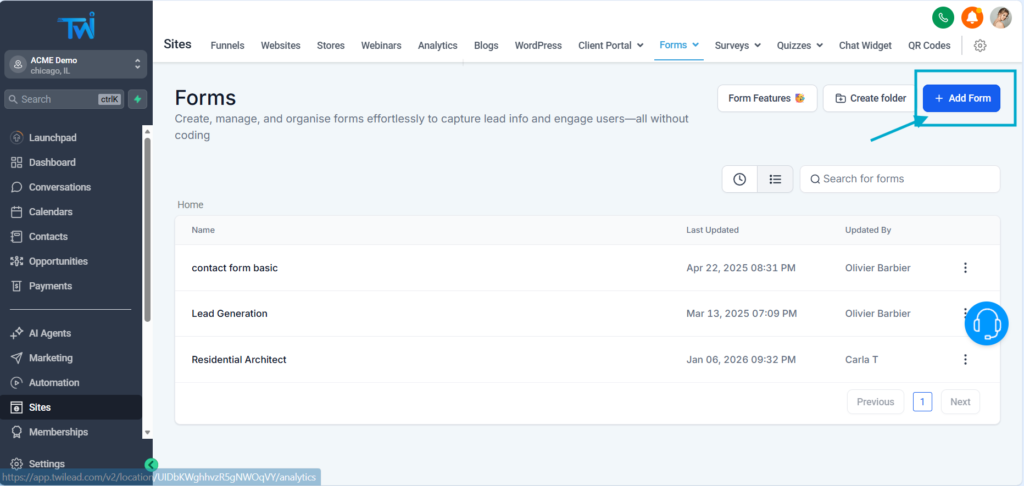
1. Access the Forms Section
From your TwiLead dashboard:
- Go to the left‑side menu.
- Click on Sites.
- Select Forms.
If this is your first time, the list will be empty, that’s totally normal.

2. Create a New Form
Click Add Form to start building.
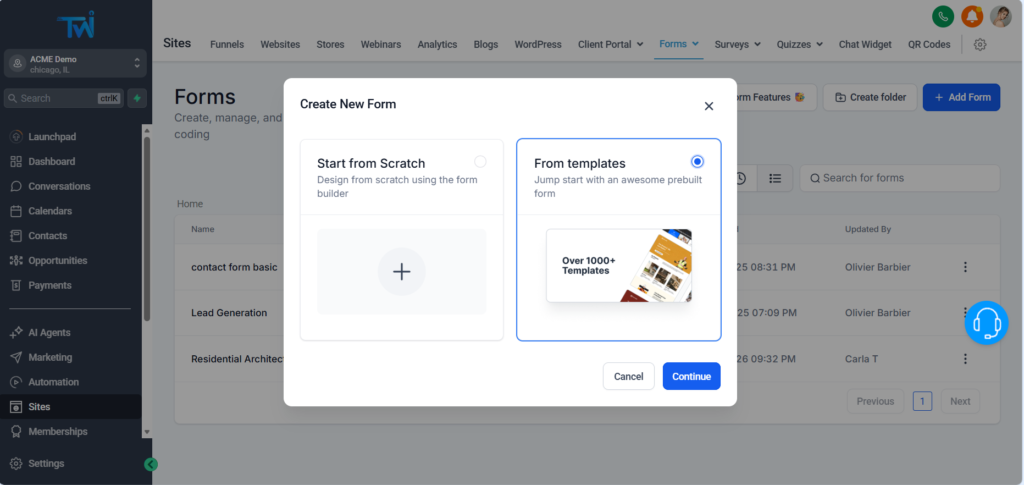
You’ll now see two options:
- Start from scratch: Drag‑and‑drop builder, very intuitive.
- Use a template: The fastest option, ideal for beginners.
3. Choose a Template (Optional)
If you select the template option, you can browse forms by categories such as:
- Real Estate
- Coaching
- Health & Wellness
- Events
- Ecommerce
- And many more
You can:
- Preview a template
- See how it looks on desktop, tablet, and mobile
- Choose and load the template instantly
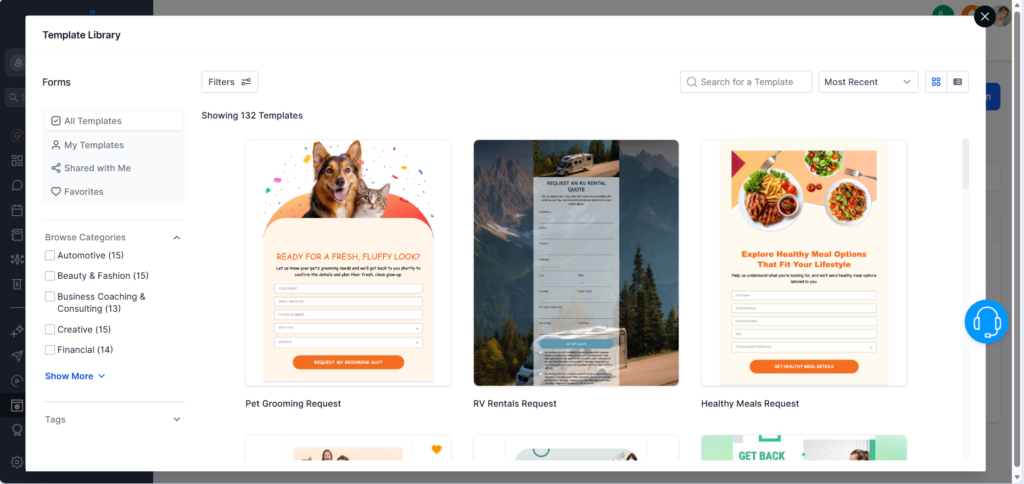
Templates you’ve used before appear under Recently Used or Favorites.
4. Edit and Customize the Form Fields
Once your form is created, you’ll land inside the form editor.
On the left, you’ll find the Form Elements, such as:
- Full Name
- Phone
- Date of Birth
- Address
- Website
- Multiple Choice
- Dropdown
- Ratings
- Payments fields
- And more advanced options
To add a field, simply drag and drop it into your form.
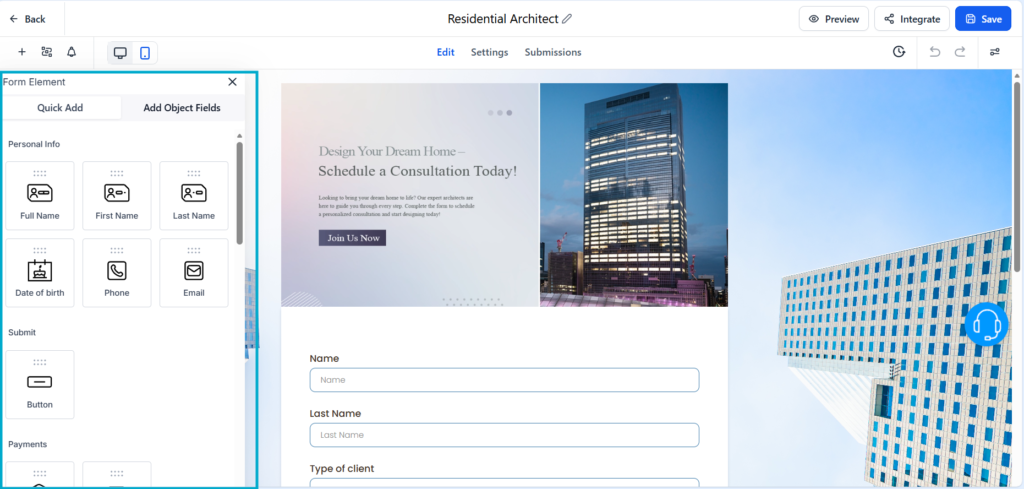
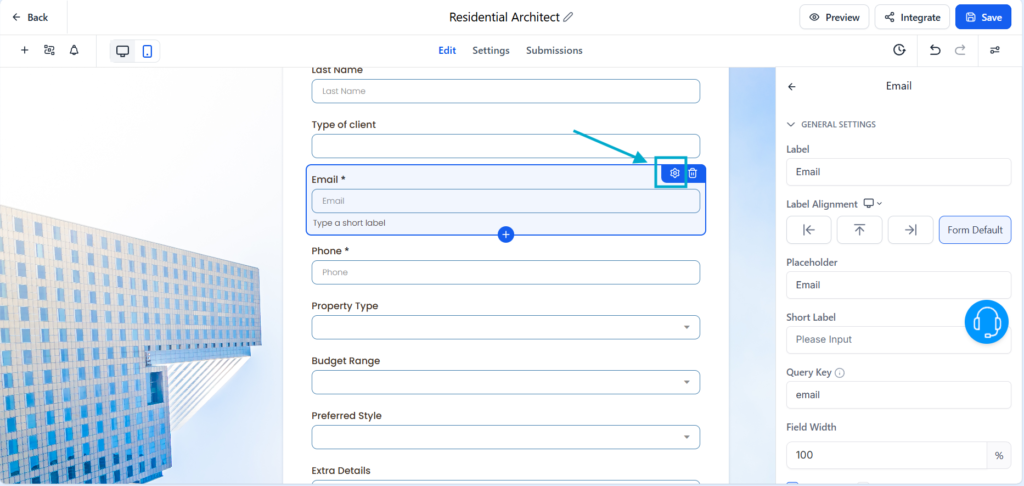
Every field can be edited by clicking on it, the customization options appear in the right panel.
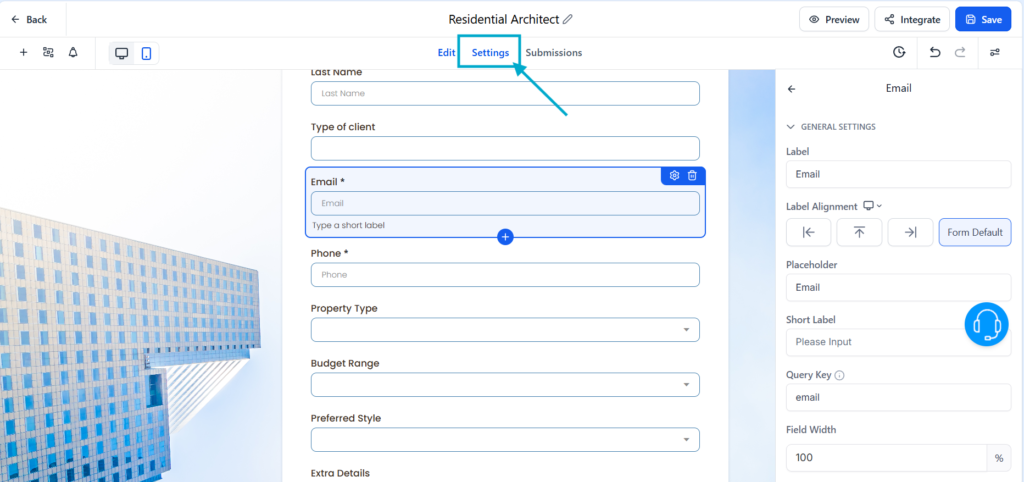
5. Set What Happens After the Form Is Submitted
Click on Settings and choose what happens when a client submits the form:
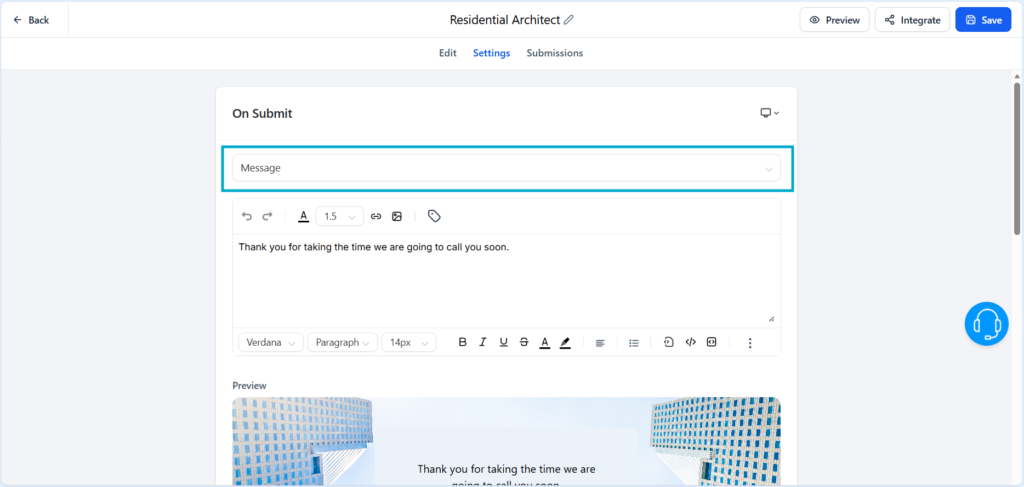
Option 1: Show a Thank‑You Message
You can fully customize the success message using the text editor.
Option 2: Redirect to a URL
Send users to:
- A thank‑you page
- A booking page
- A product page
- A funnel step
- Any external website
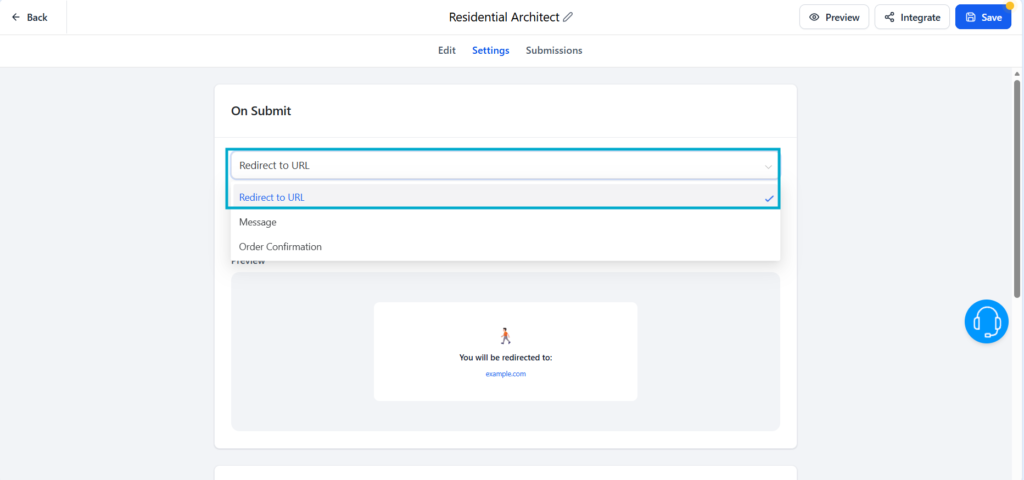
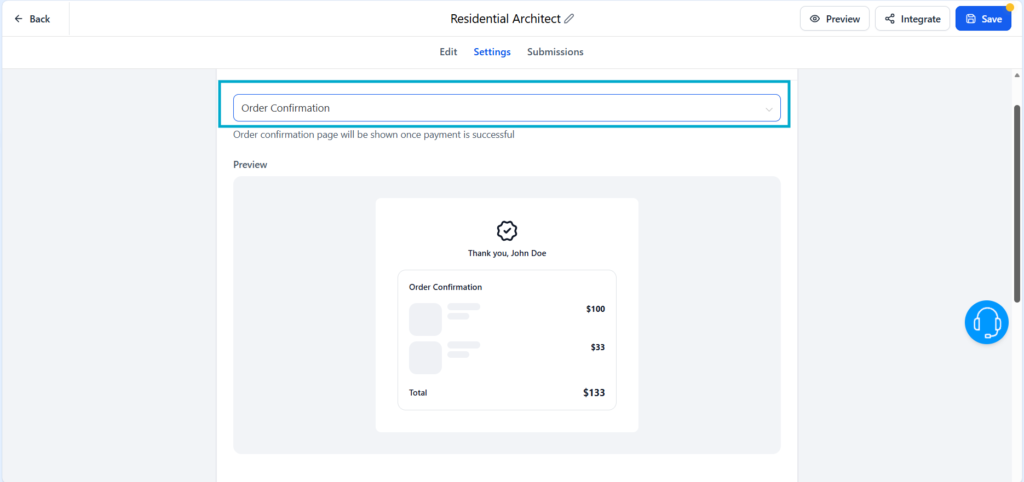
Option 3: Order Confirmation Page
Useful if you’re selling something via the form.
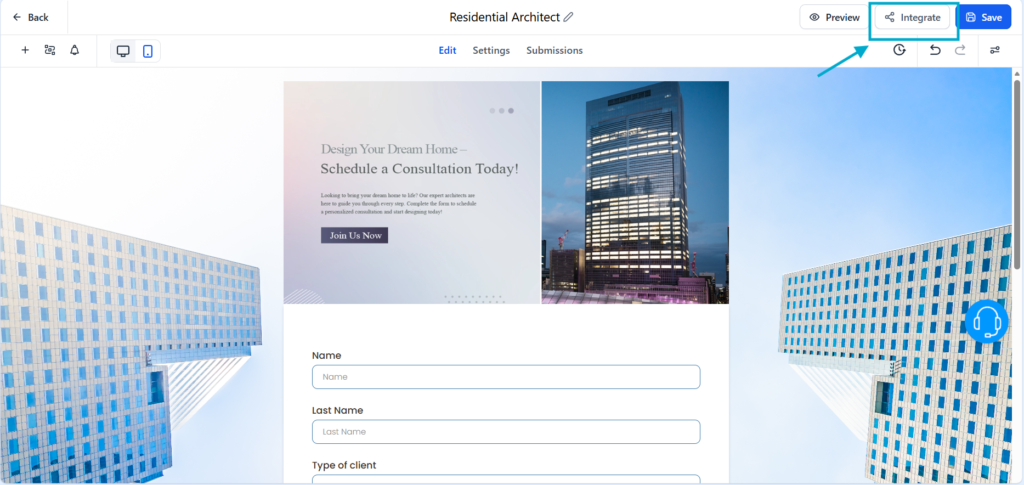
6. Share or Embed Your Form
When your form is ready, click on integrate to choose how to share your form:
Share via link
TwiLead generates a direct link you can send anywhere. Click on Share and copy it.
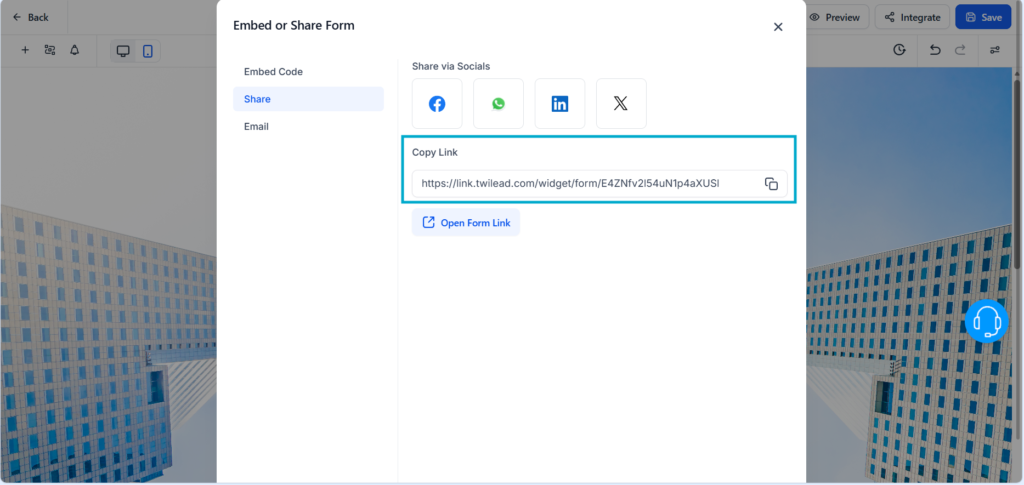
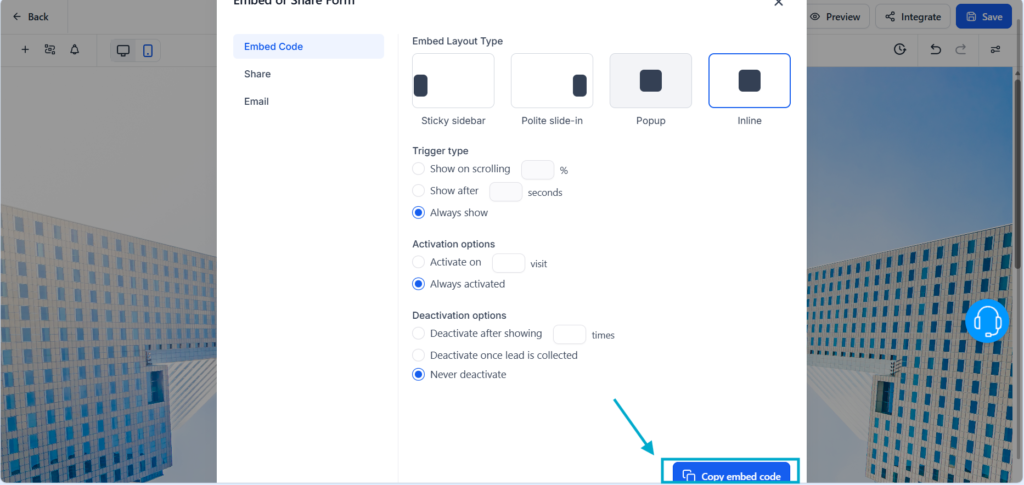
Embed into your website
Click Embed code and choose how you want to display the form on your website
Copy the code and paste it into your site, and your form will appear instantly.
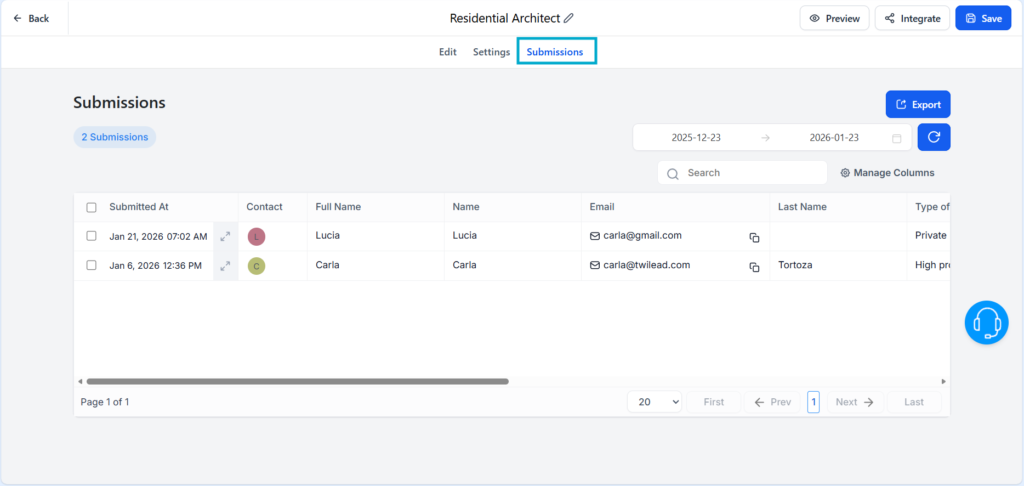
7. See the Leads Coming In
Every time someone submits your form:
- A new contact is created automatically
- All form data is added to the CRM
- You can instantly start conversations via email, SMS, or WhatsApp
This helps you centralize all your lead information in one place.
To see the answers, you can go to the Contacts section or click on Submissions.
Final Thoughts: How to Create Forms in TwiLead
With TwiLead, creating professional forms is fast, intuitive, and incredibly flexible. Whether you need simple lead forms or advanced data collection, you can build everything in minutes, no coding required.
If you’d like personalized guidance to help you create high‑converting forms and set up a complete lead attraction and conversion system inside TwiLead, you can book a 1:1 onboarding call with our expert team. This exclusive support is available only for active TwiLead users and is the fastest way to build a powerful, optimized customer acquisition engine.