If you’ve made it this far,… you’re THIS 🤏 close to having your own marketing and sales machine running
In this guide, you´ll learn how to create a funnel inside TwiLead, from your landing page to capturing leads, so you can start turning visitors into clients.
Let’s get into it.
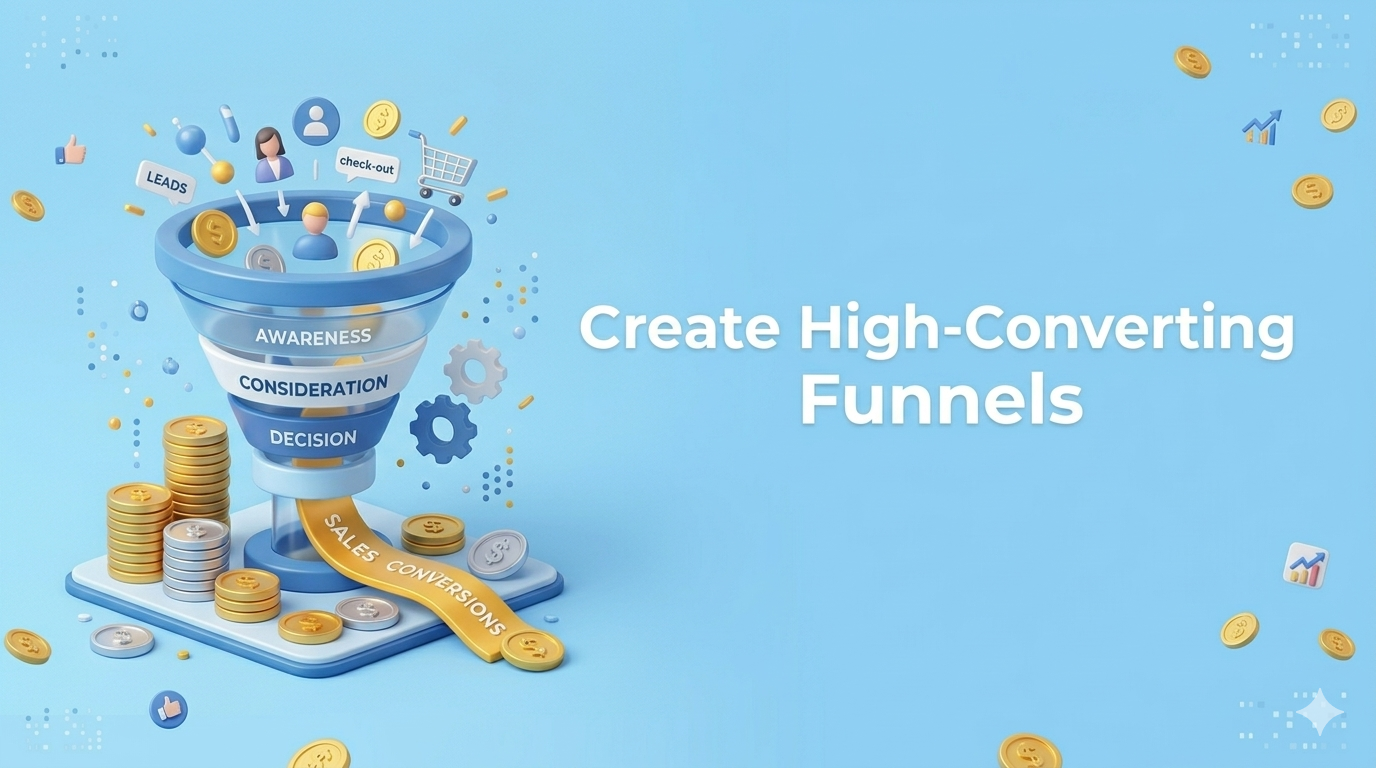
What Is a Funnel (and Why You Need One)?
A funnel is simply a series of pages designed to guide someone toward one specific action.
That action could be:
Booking a call
Filling out a form
Buying a product
Hiring your services
And here’s the key:
👉 Each page has ONE goal. Not ten. ONE.
Step 1: Create a New Funnel
Inside TwiLead:
- Go to Sites
- Click on Funnels
- Select New Funnel

You’ll have three options:
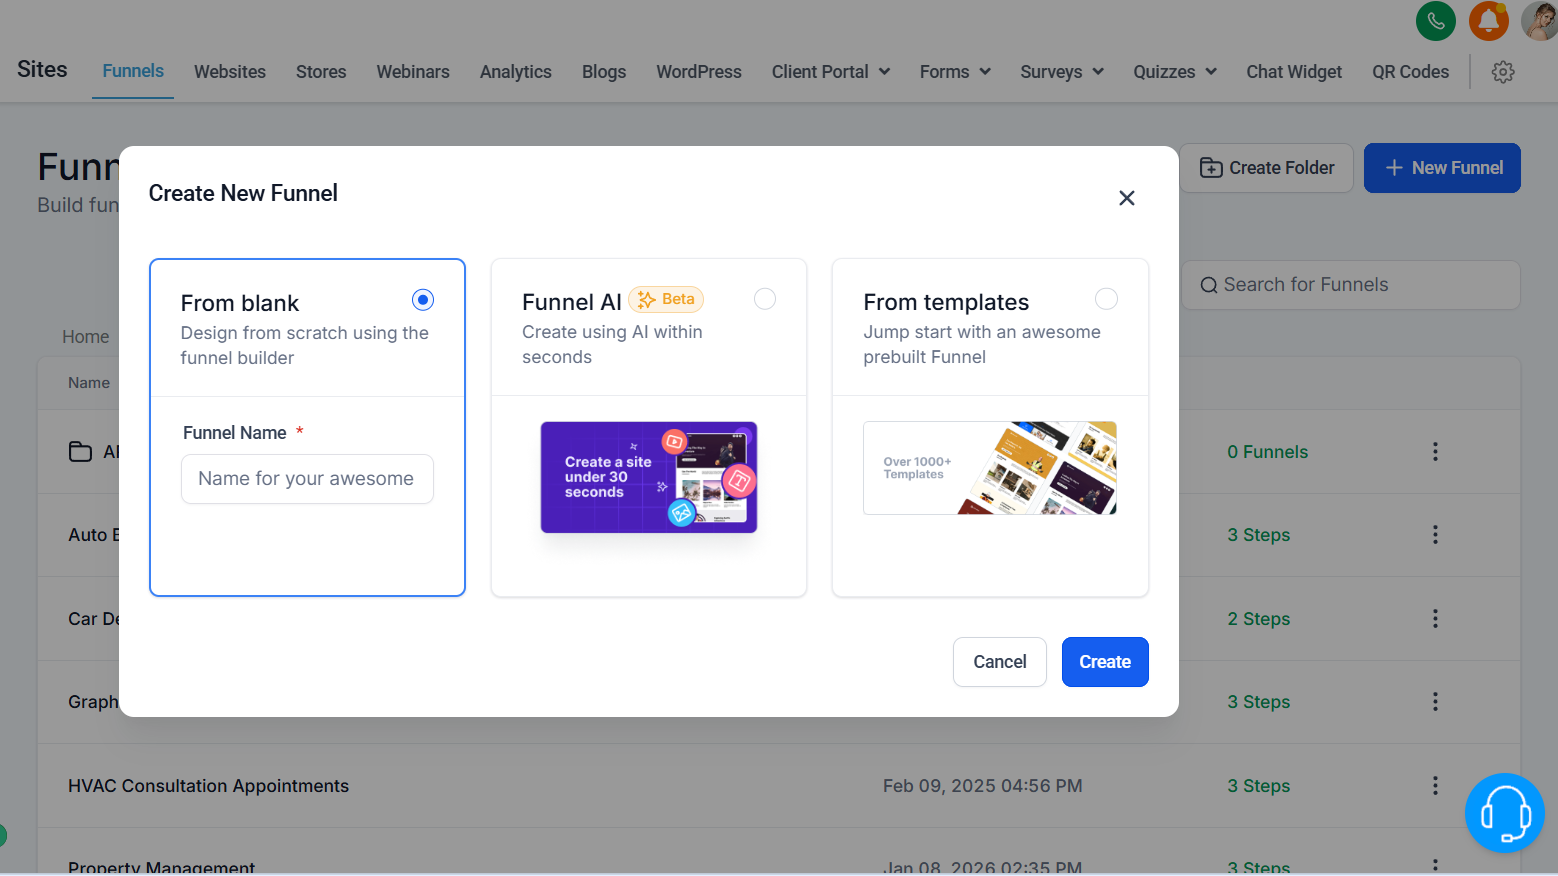
- Start from scratch
- Use AI
- Choose a template
Step 2: Choose a Template (Smartly)
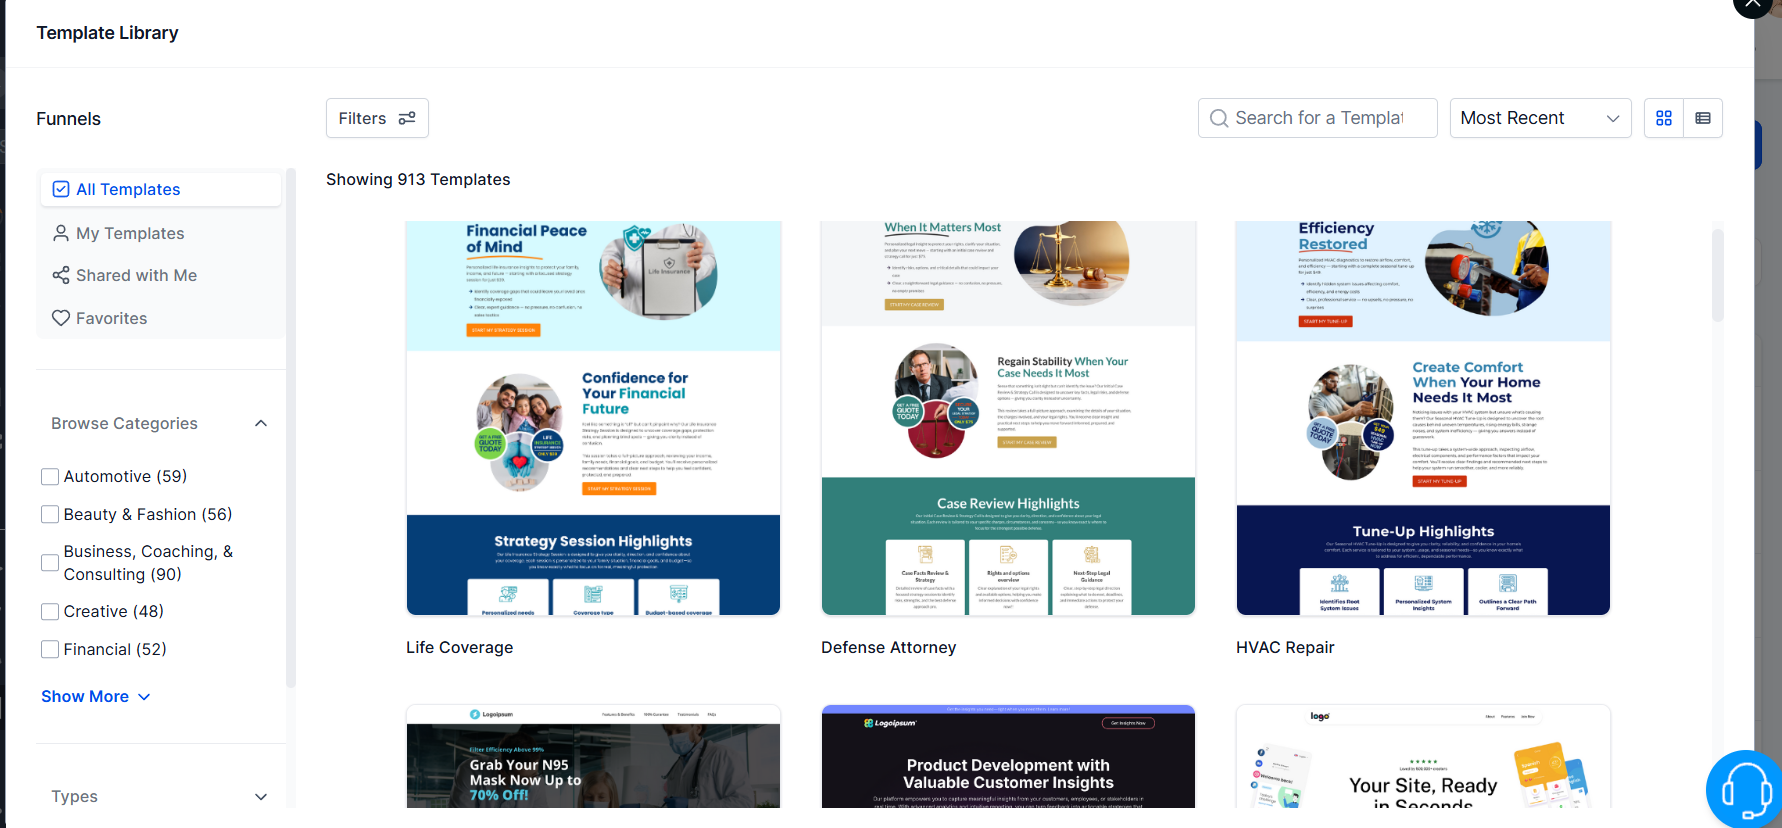
When selecting a template, don’t just look at the design.
Pay attention to:
- Forms included
- Calendar integrations
- Overall structure
This gives you a shortcut to building something functional fast.
Step 3: Understand the Funnel Structure
Your funnel is made of multiple steps (pages):
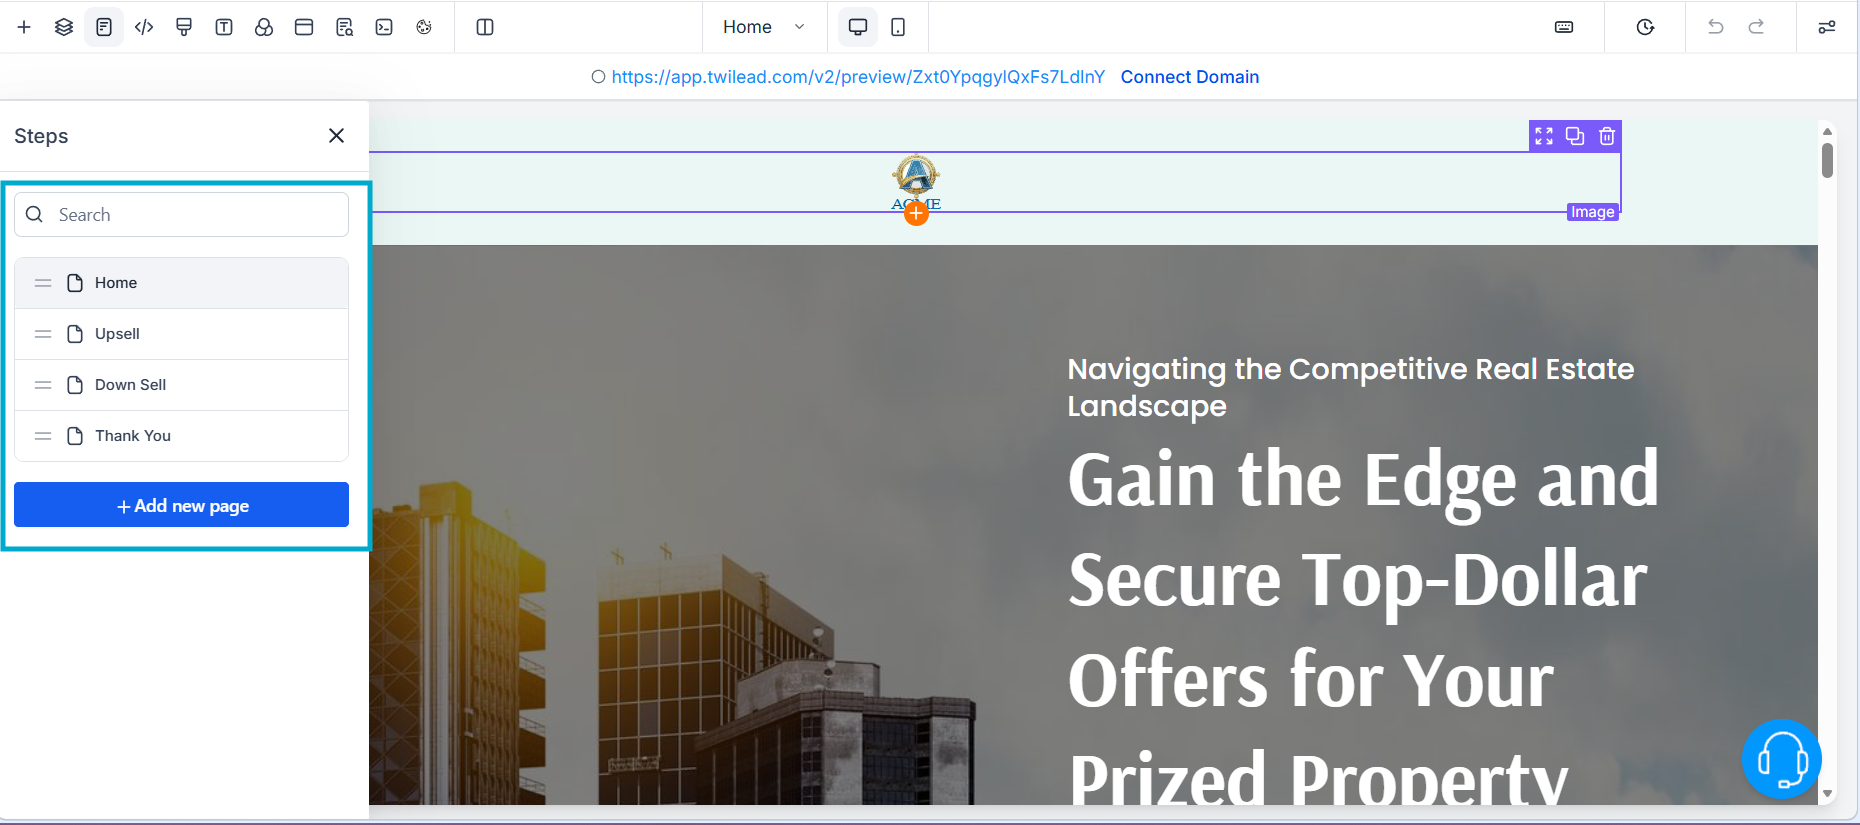
- Landing Page (First Step)
- Additional pages (form, calendar, confirmation, etc.)
Your Landing Page Rule:
👉 One page = One goal
Even if you have multiple buttons, they should ALL lead to the same action.
Step 4: Customize Your Landing Page
Now comes the fun part ✨
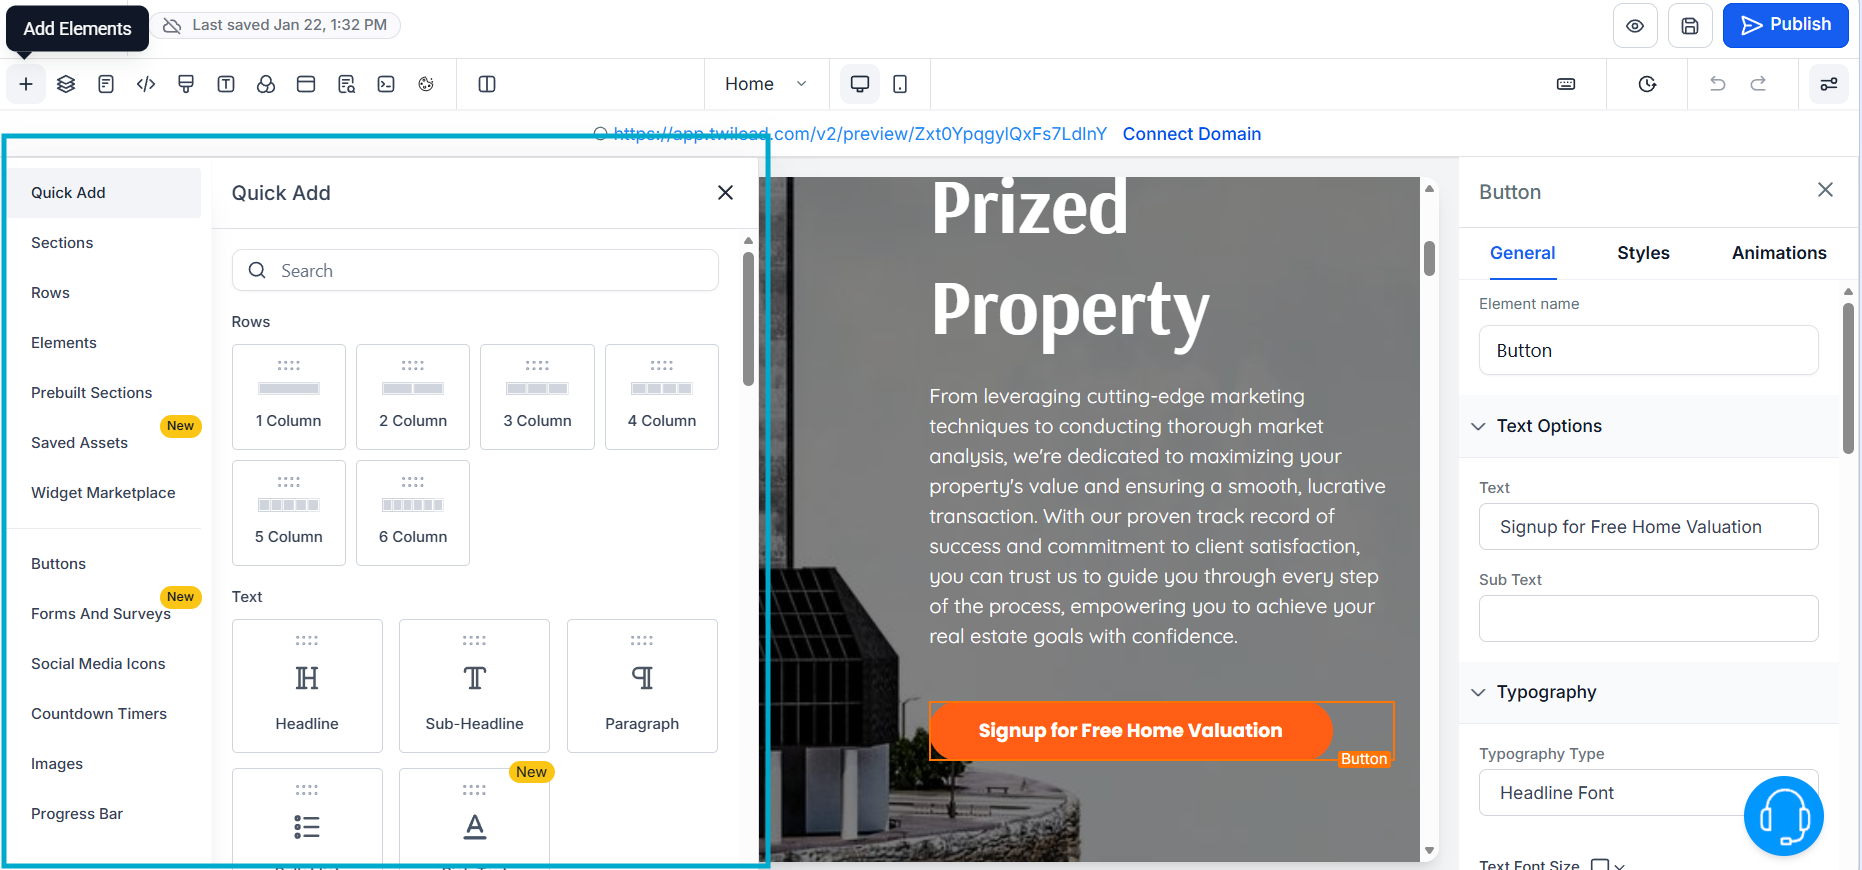
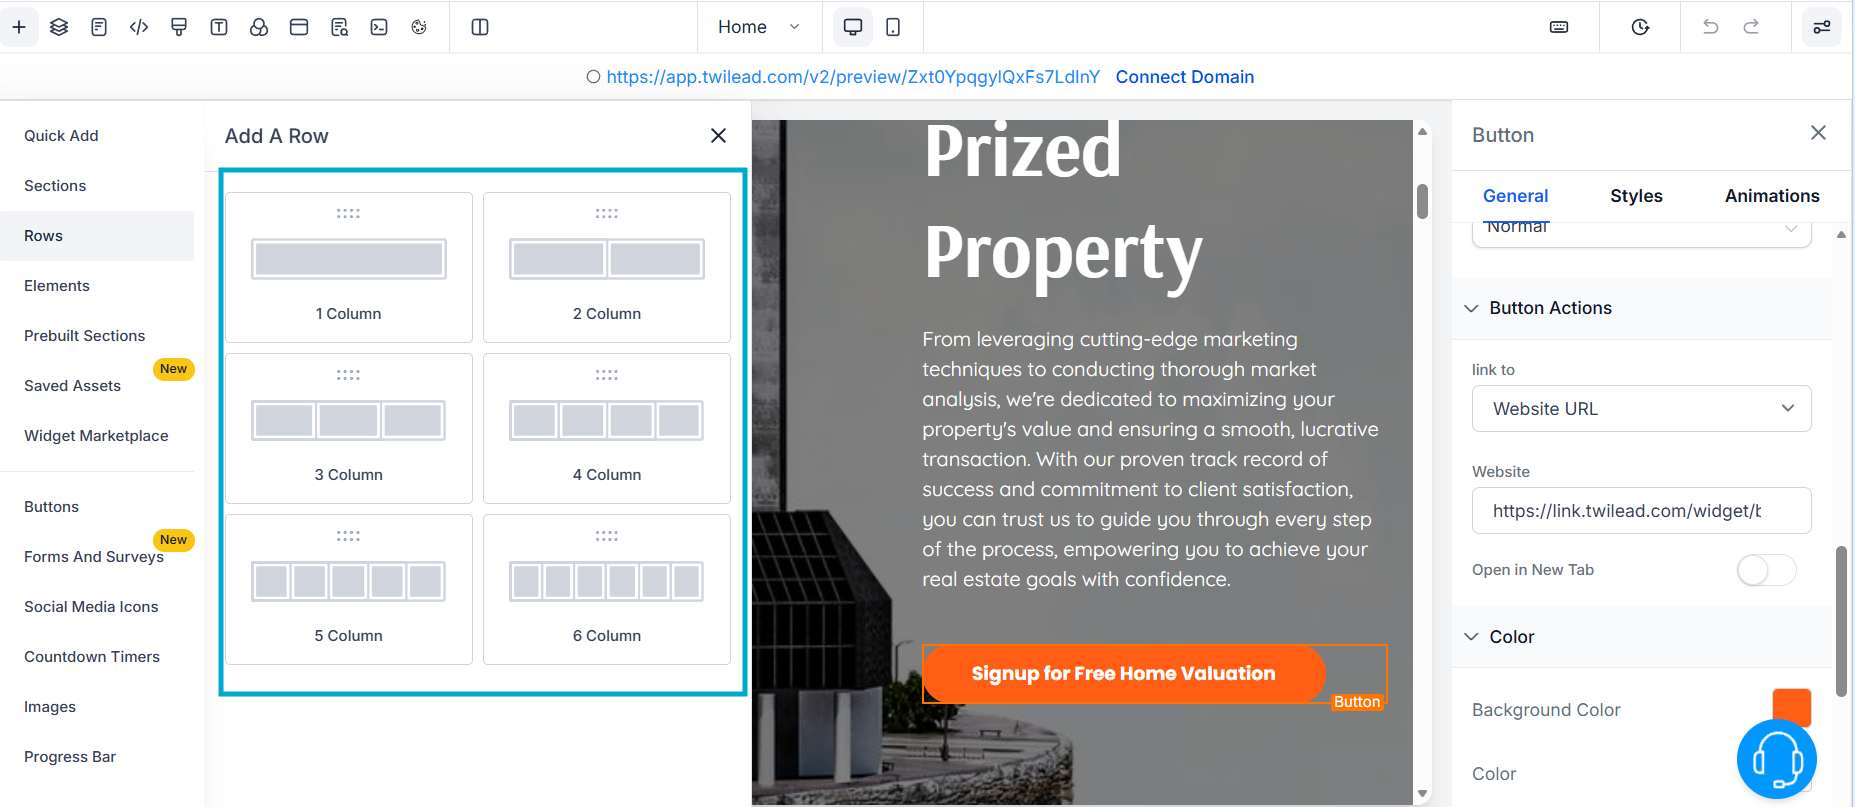
TwiLead works with a simple structure:
- Sections (big blocks)
- Rows (inside sections)
- Columns (inside rows)
- Elements (text, buttons, images)
To edit anything:
- Click on the element
- Adjust settings on the right sidebar
To add new elements:
- Drag and drop from the elements panel
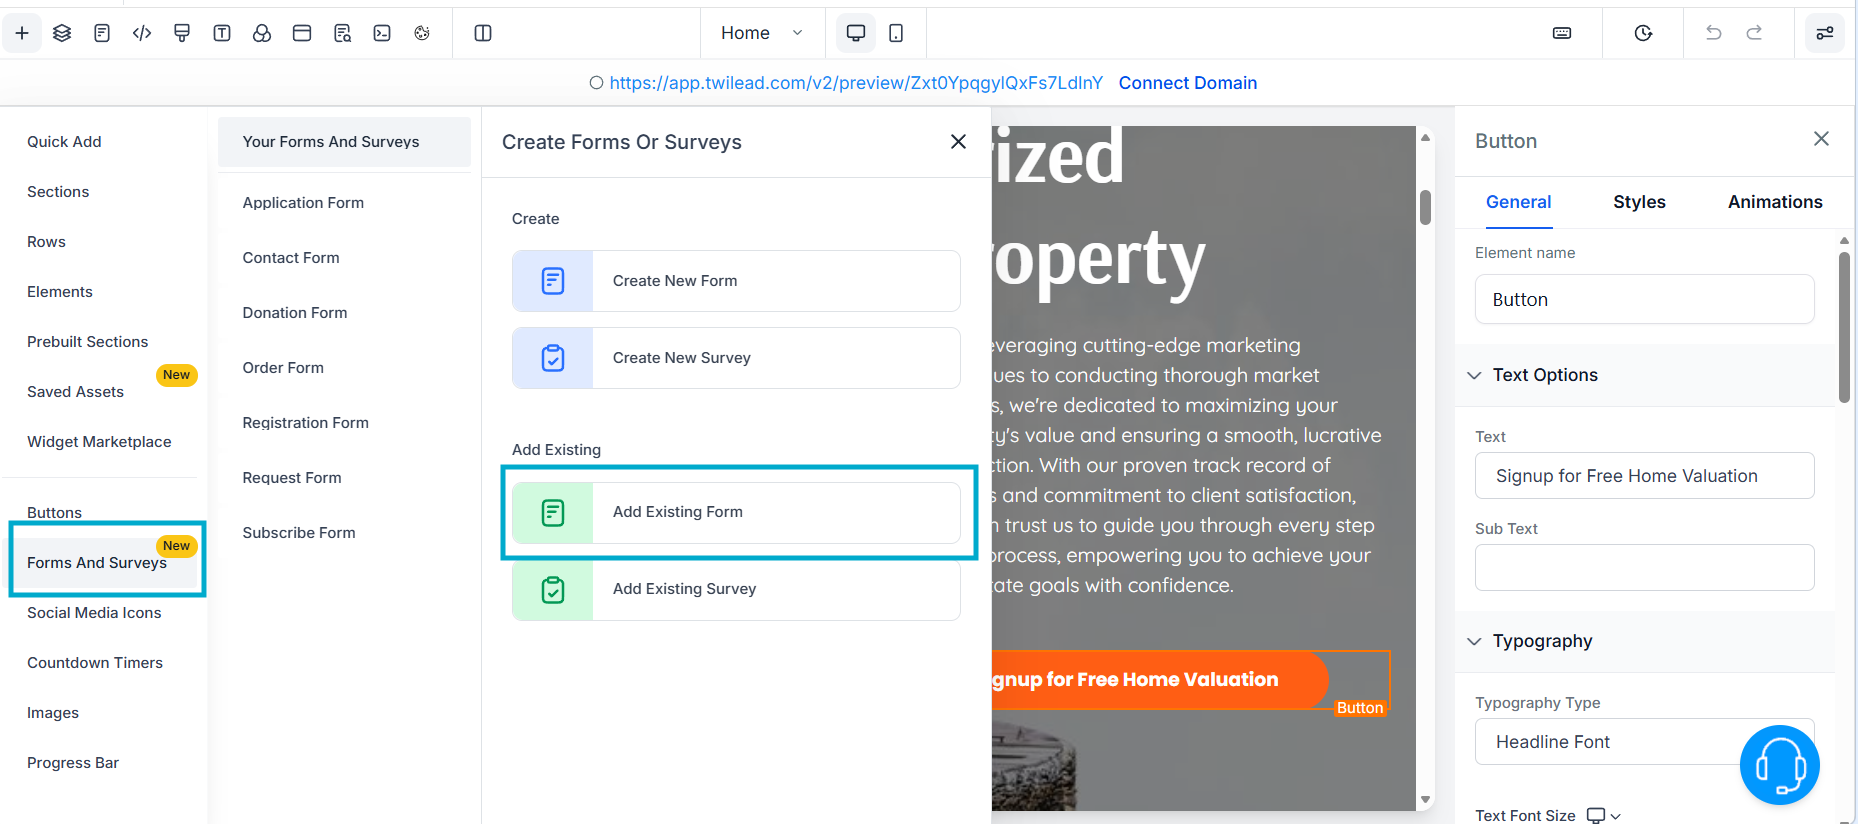
Step 5: Add a Form (To Capture Leads)
If your goal is leads (which it probably is 👀), you need a form.
To add one:
- Select an existing form
- Place it on your page
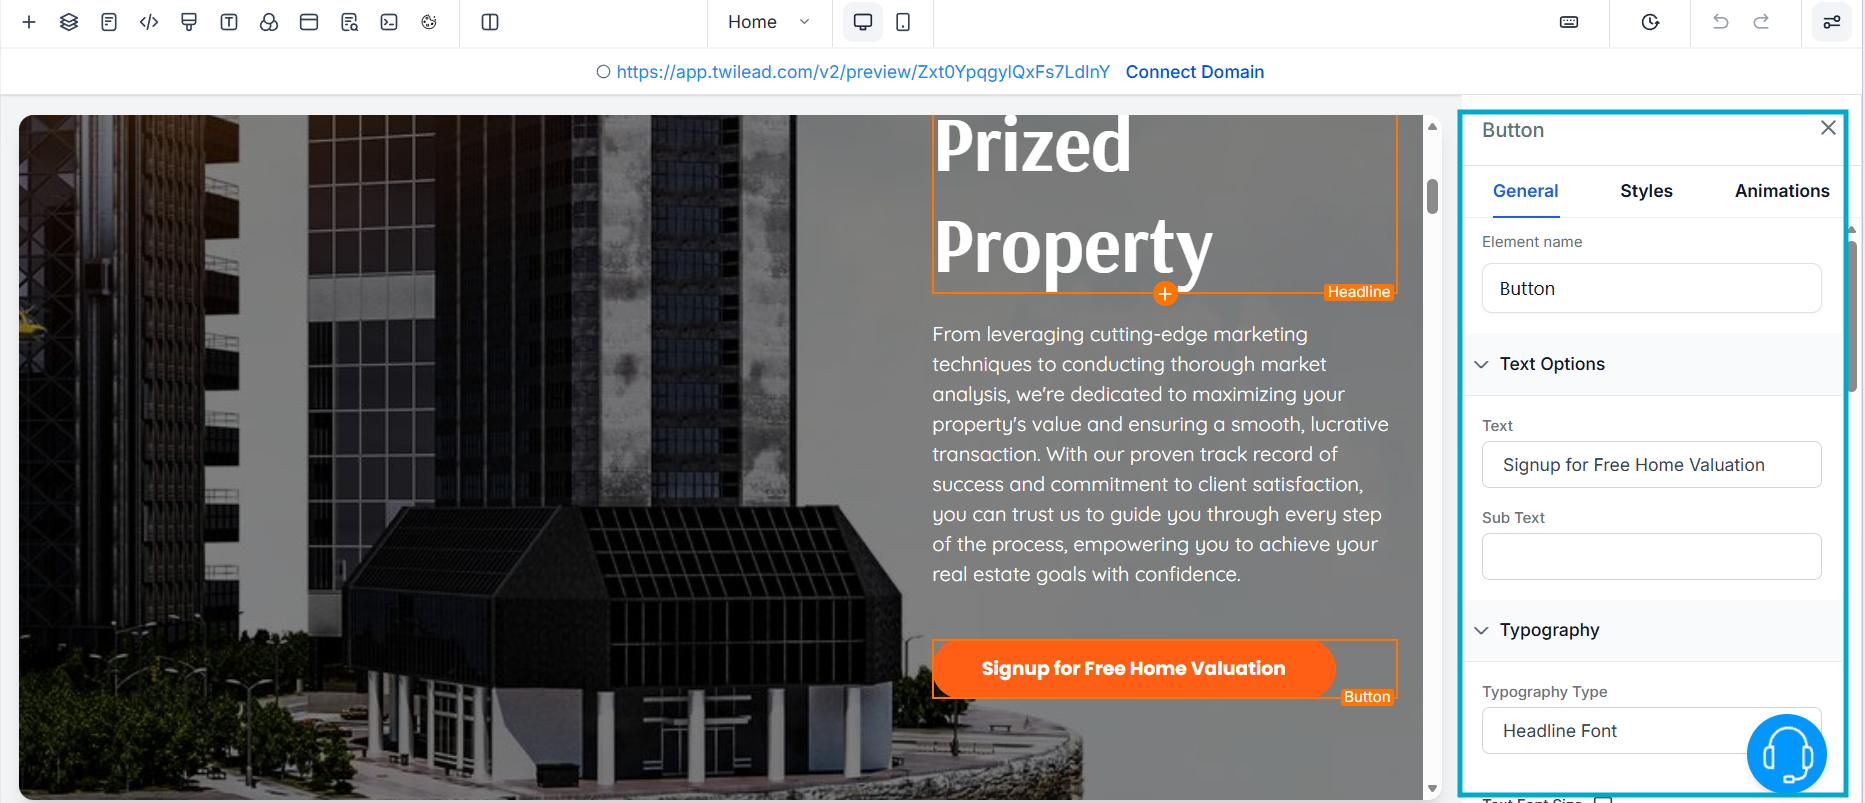
Step 6 : Connect Your Buttons
Every button should guide users forward.
To do this:
- Select the button
- Choose Next Step as the action (or the action that best fits your goals)
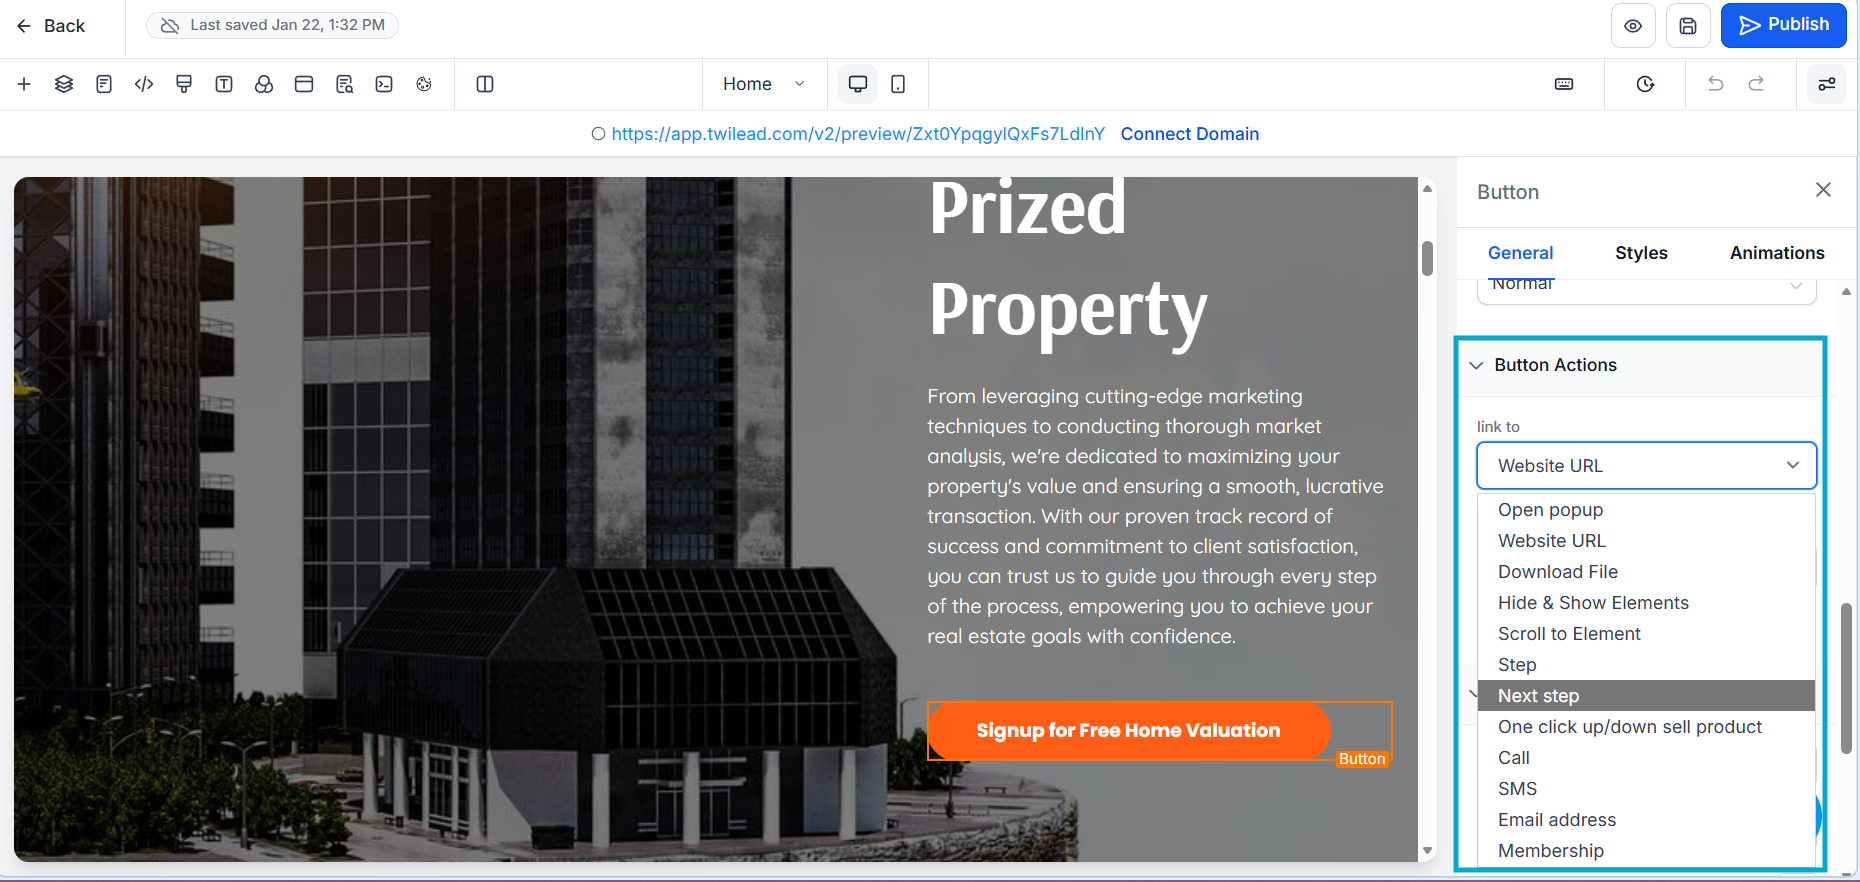
This creates the flow between pages.
Step 7: Build Your Funnel Flow
A simple (and effective) funnel could look like this:
Landing page → introduces offer
Second page → form or calendar
Confirmation → done
That’s it. Simple converts.
Common Mistake to Avoid ⚠️
f you can’t drop an element somewhere…
👉 You’re probably missing a row or column
Solution:
Add a column first
Then drop your element inside
This tiny detail saves you HOURS of frustration.
Final Thoughts
Creating a funnel doesn’t have to be overwhelming.
The secret is simple:
👉 Be clear about your goal.
- Want leads? → Use forms
- Want bookings? → Use calendars
- Want sales? → Guide them step by step
You already have the tools.
Now it’s time to build something powerful
If you’d like personalized guidance to help you customize your TwiLead funnel and set up a fully optimized lead attraction and conversion system, you can book a 1:1 onboarding call with our expert team. This exclusive support is available only for active TwiLead users and is the fastest way to build a high‑performing client acquisition engine.